How to add a new tour
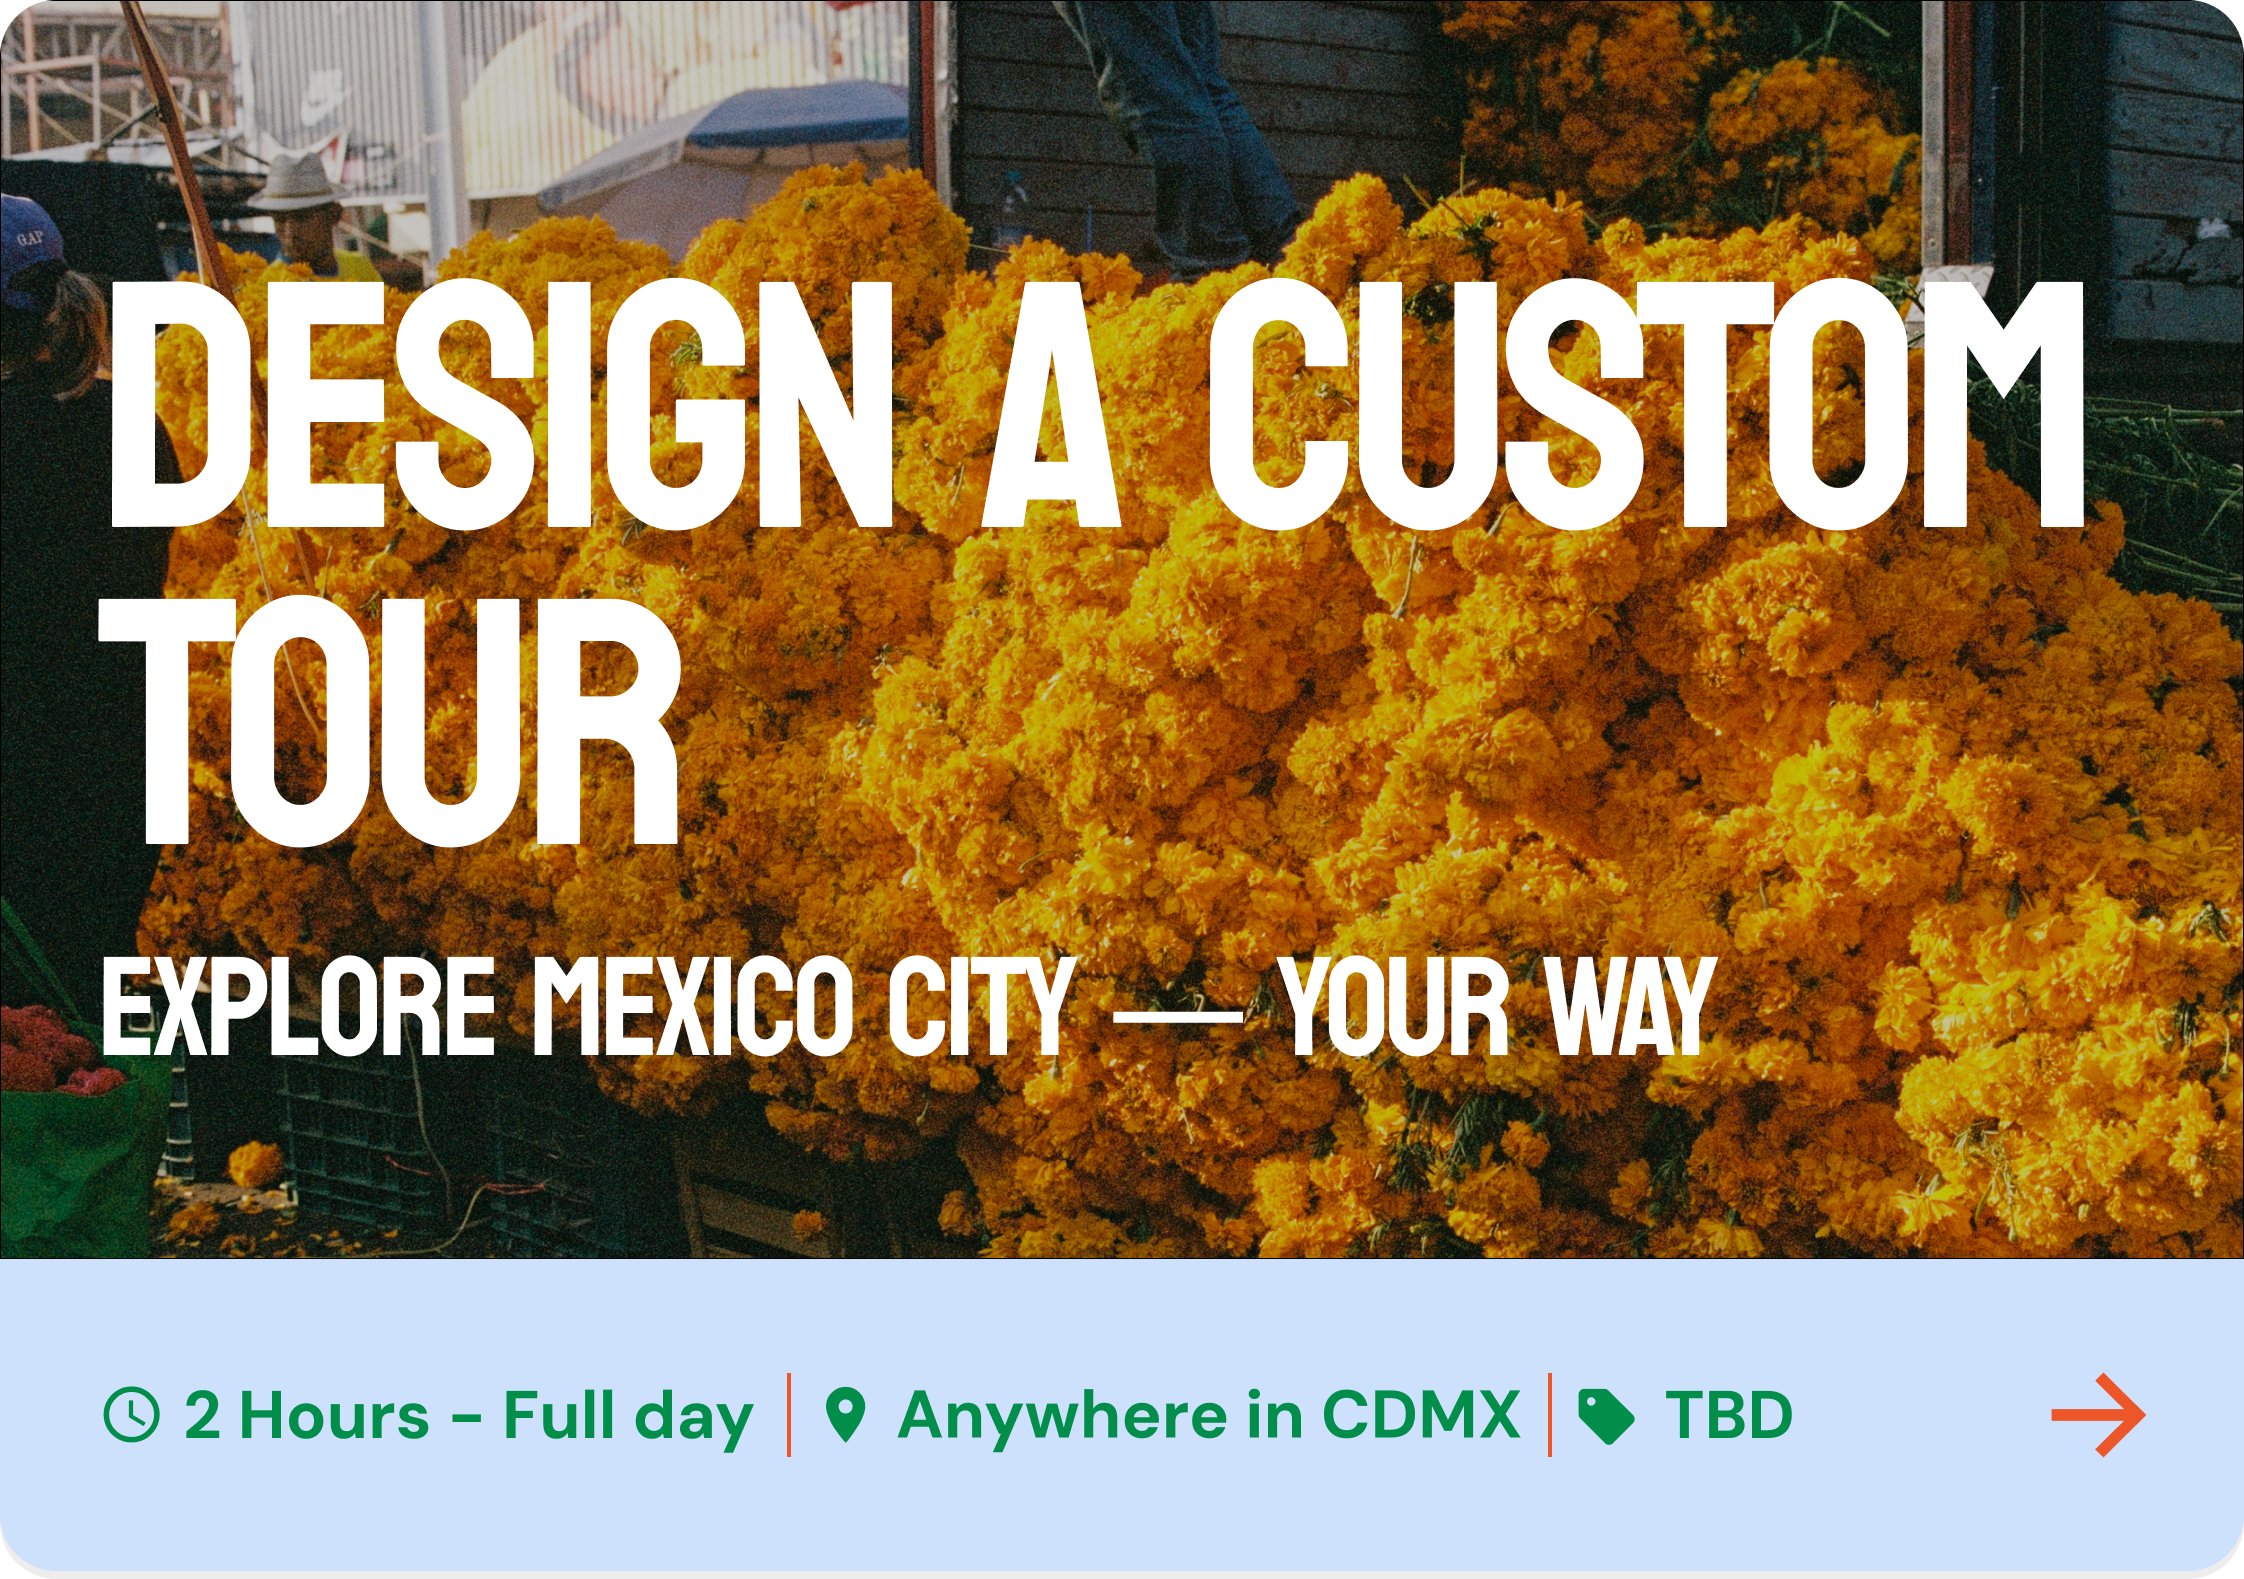
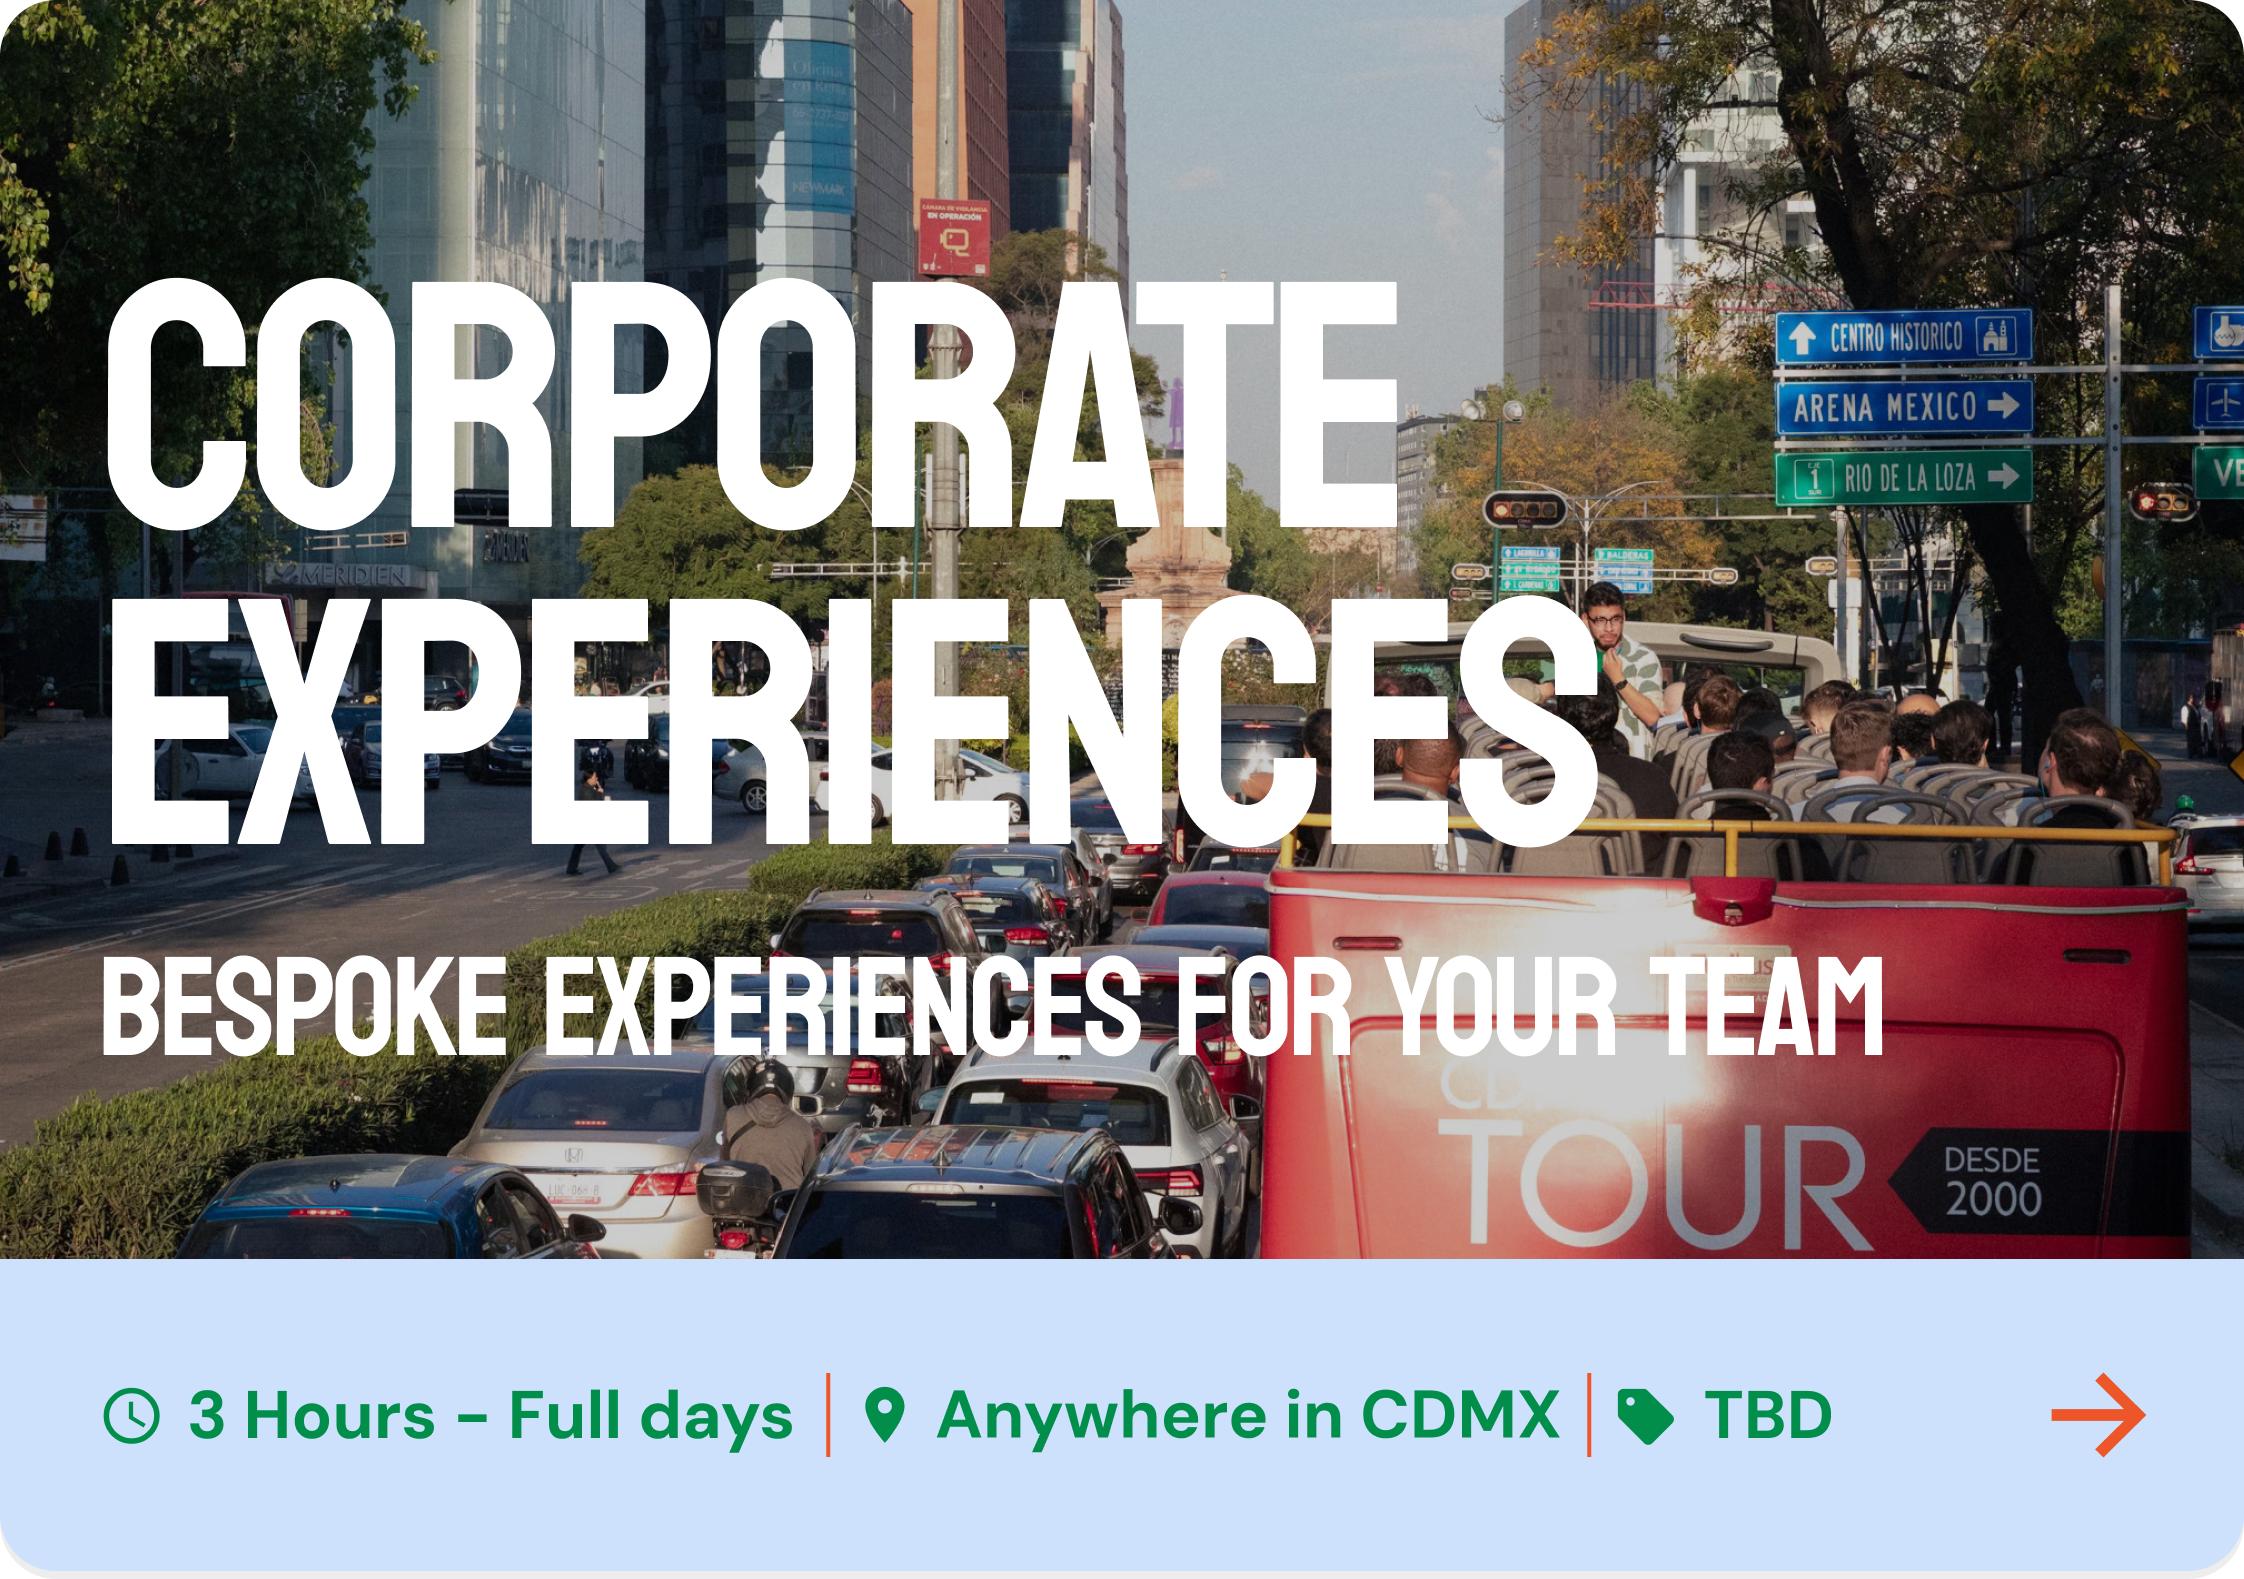
One — Create your cover image in Figma
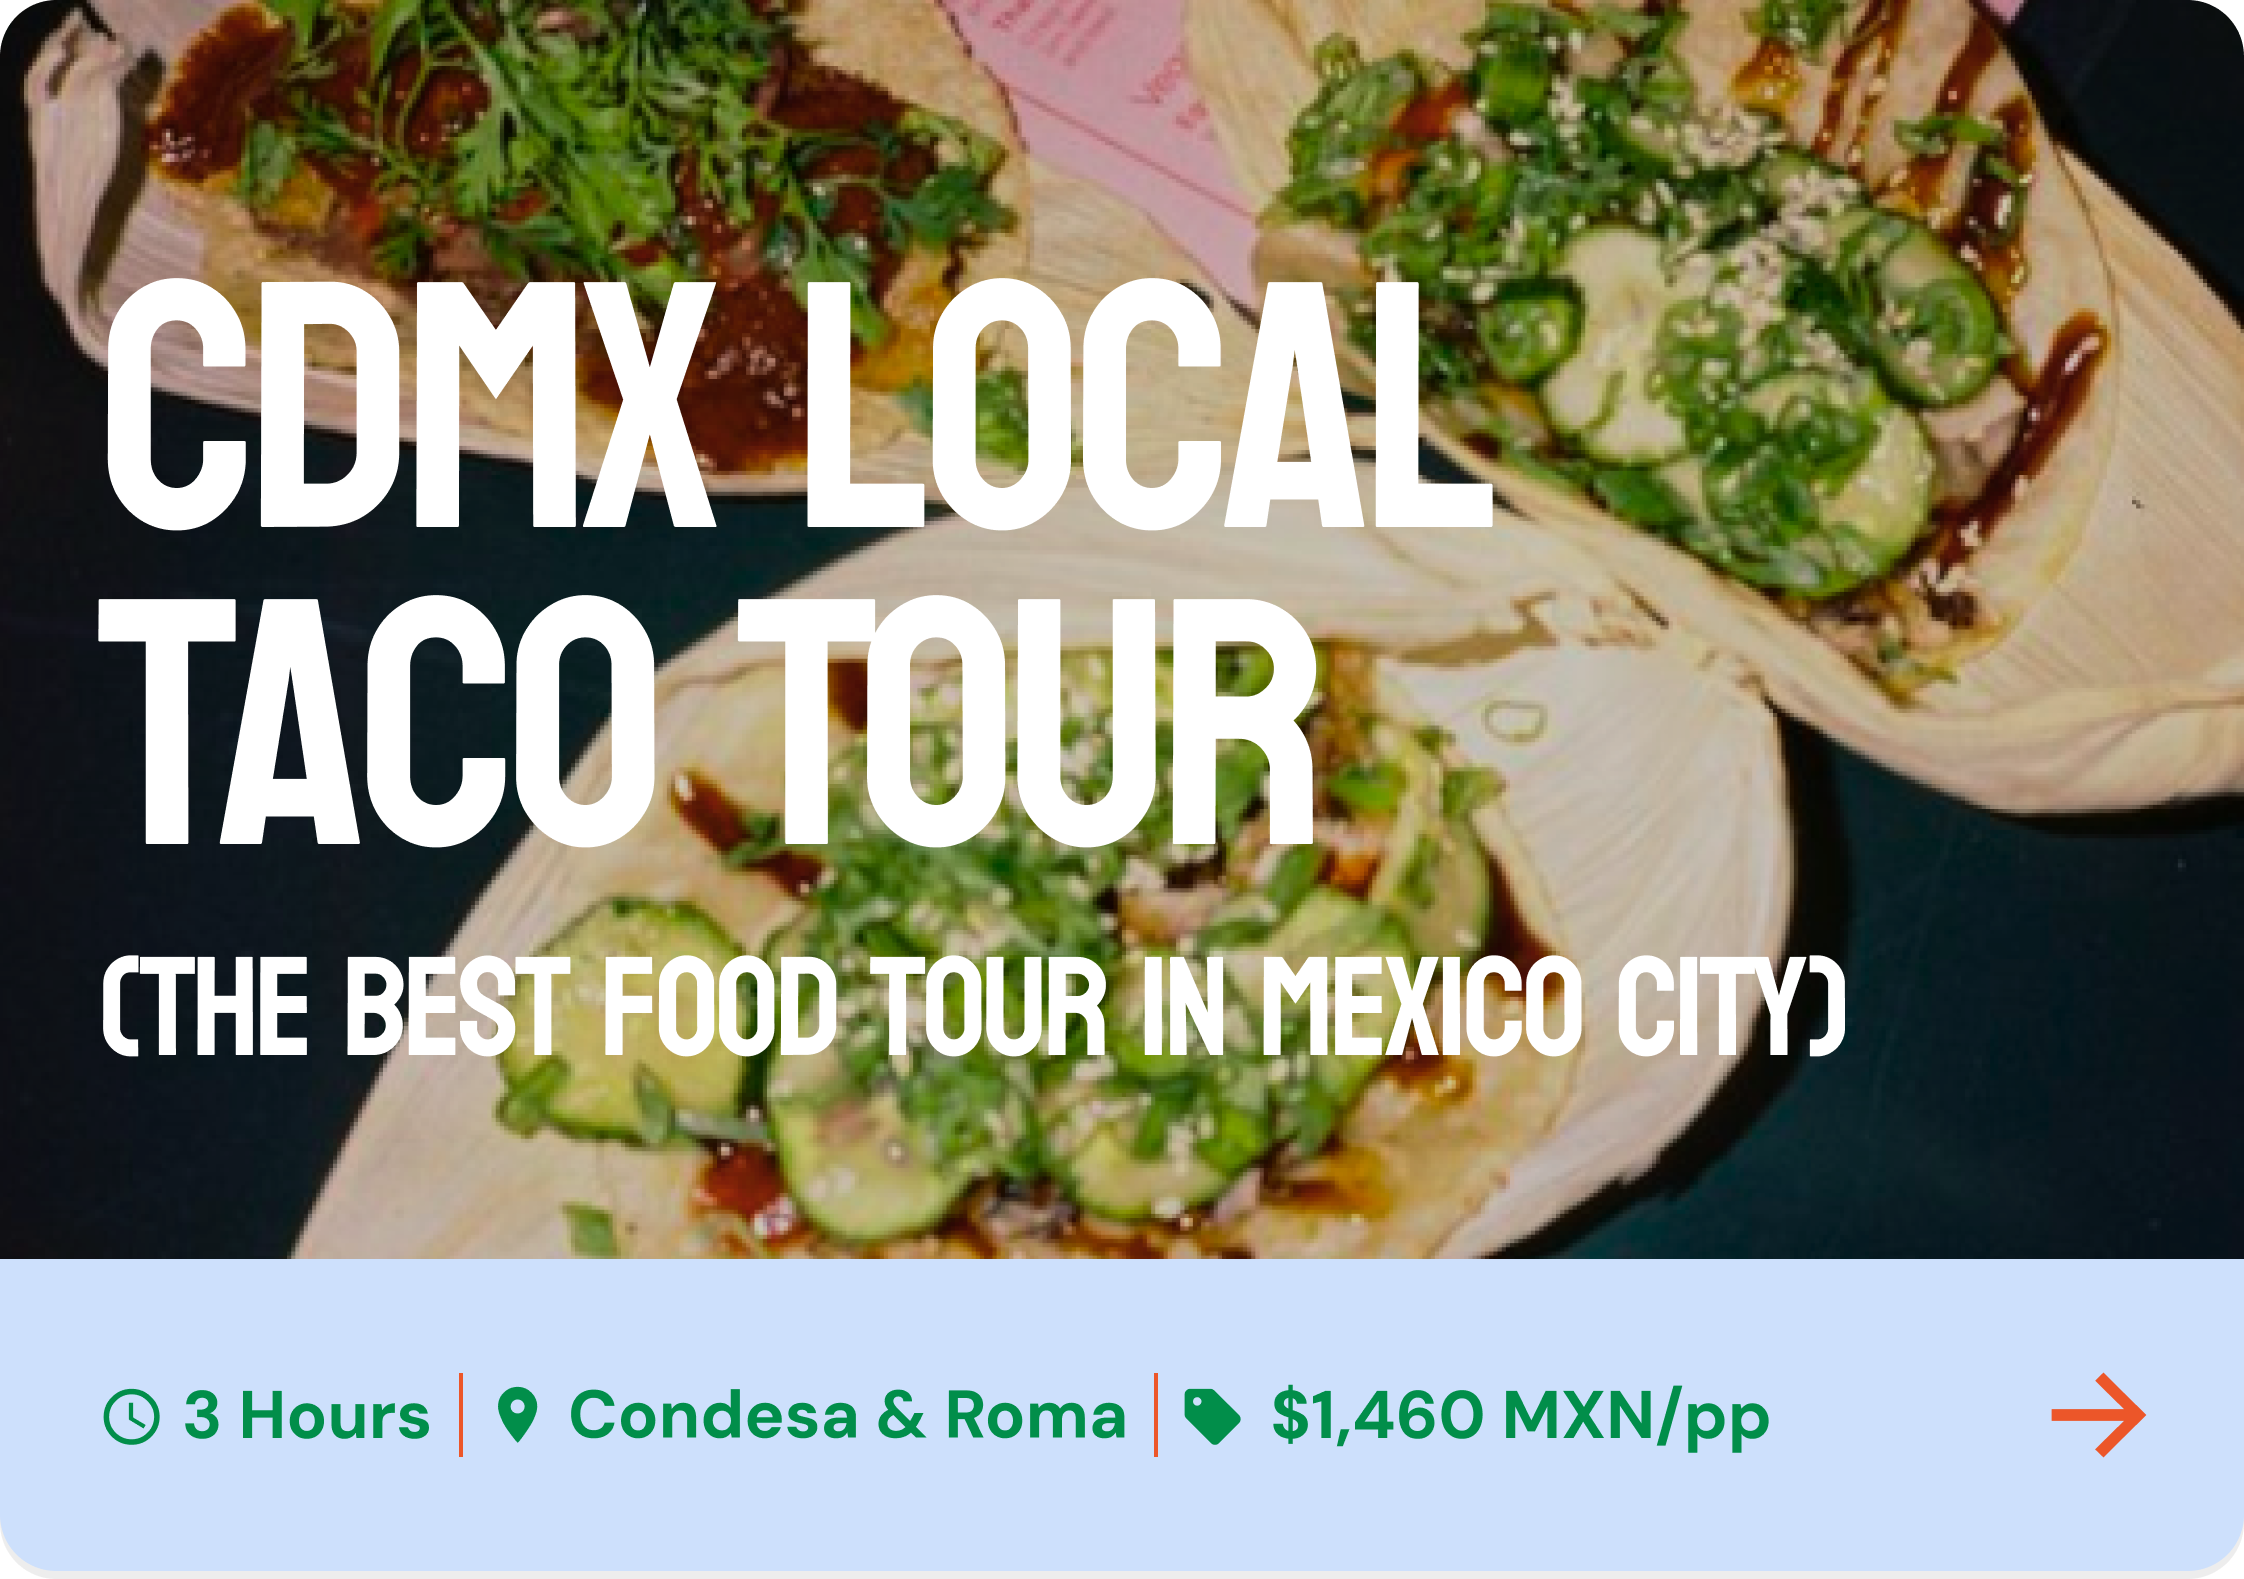
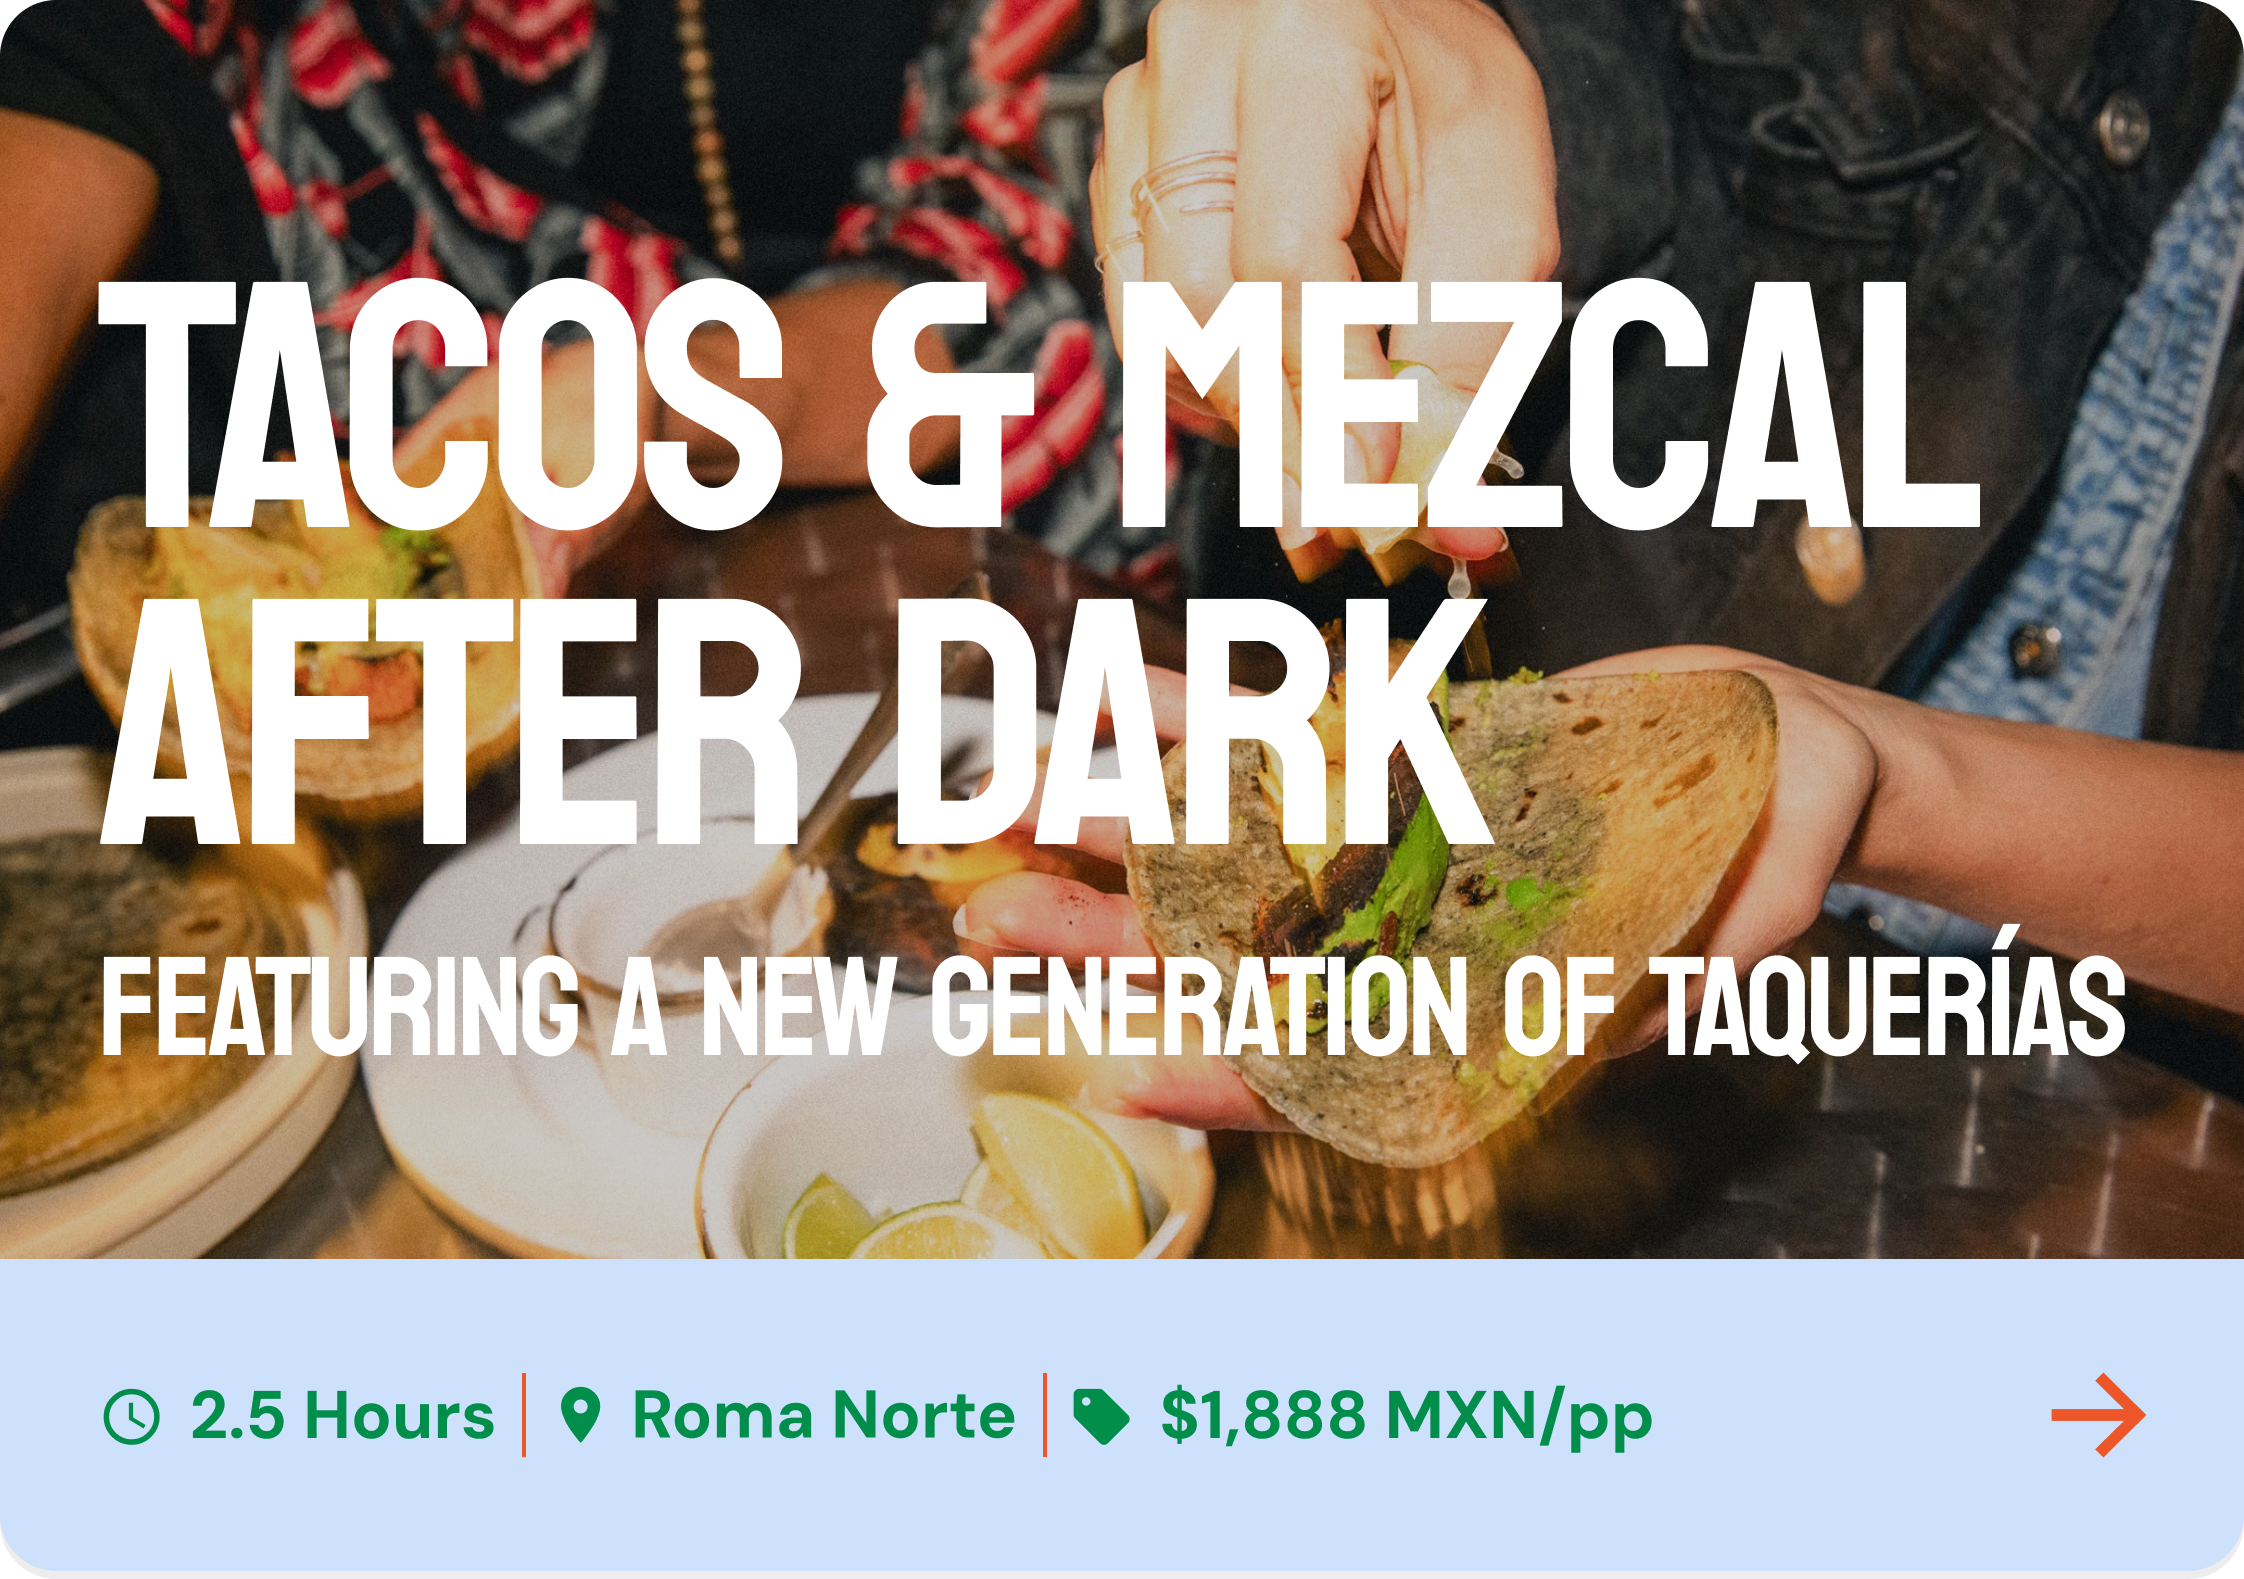
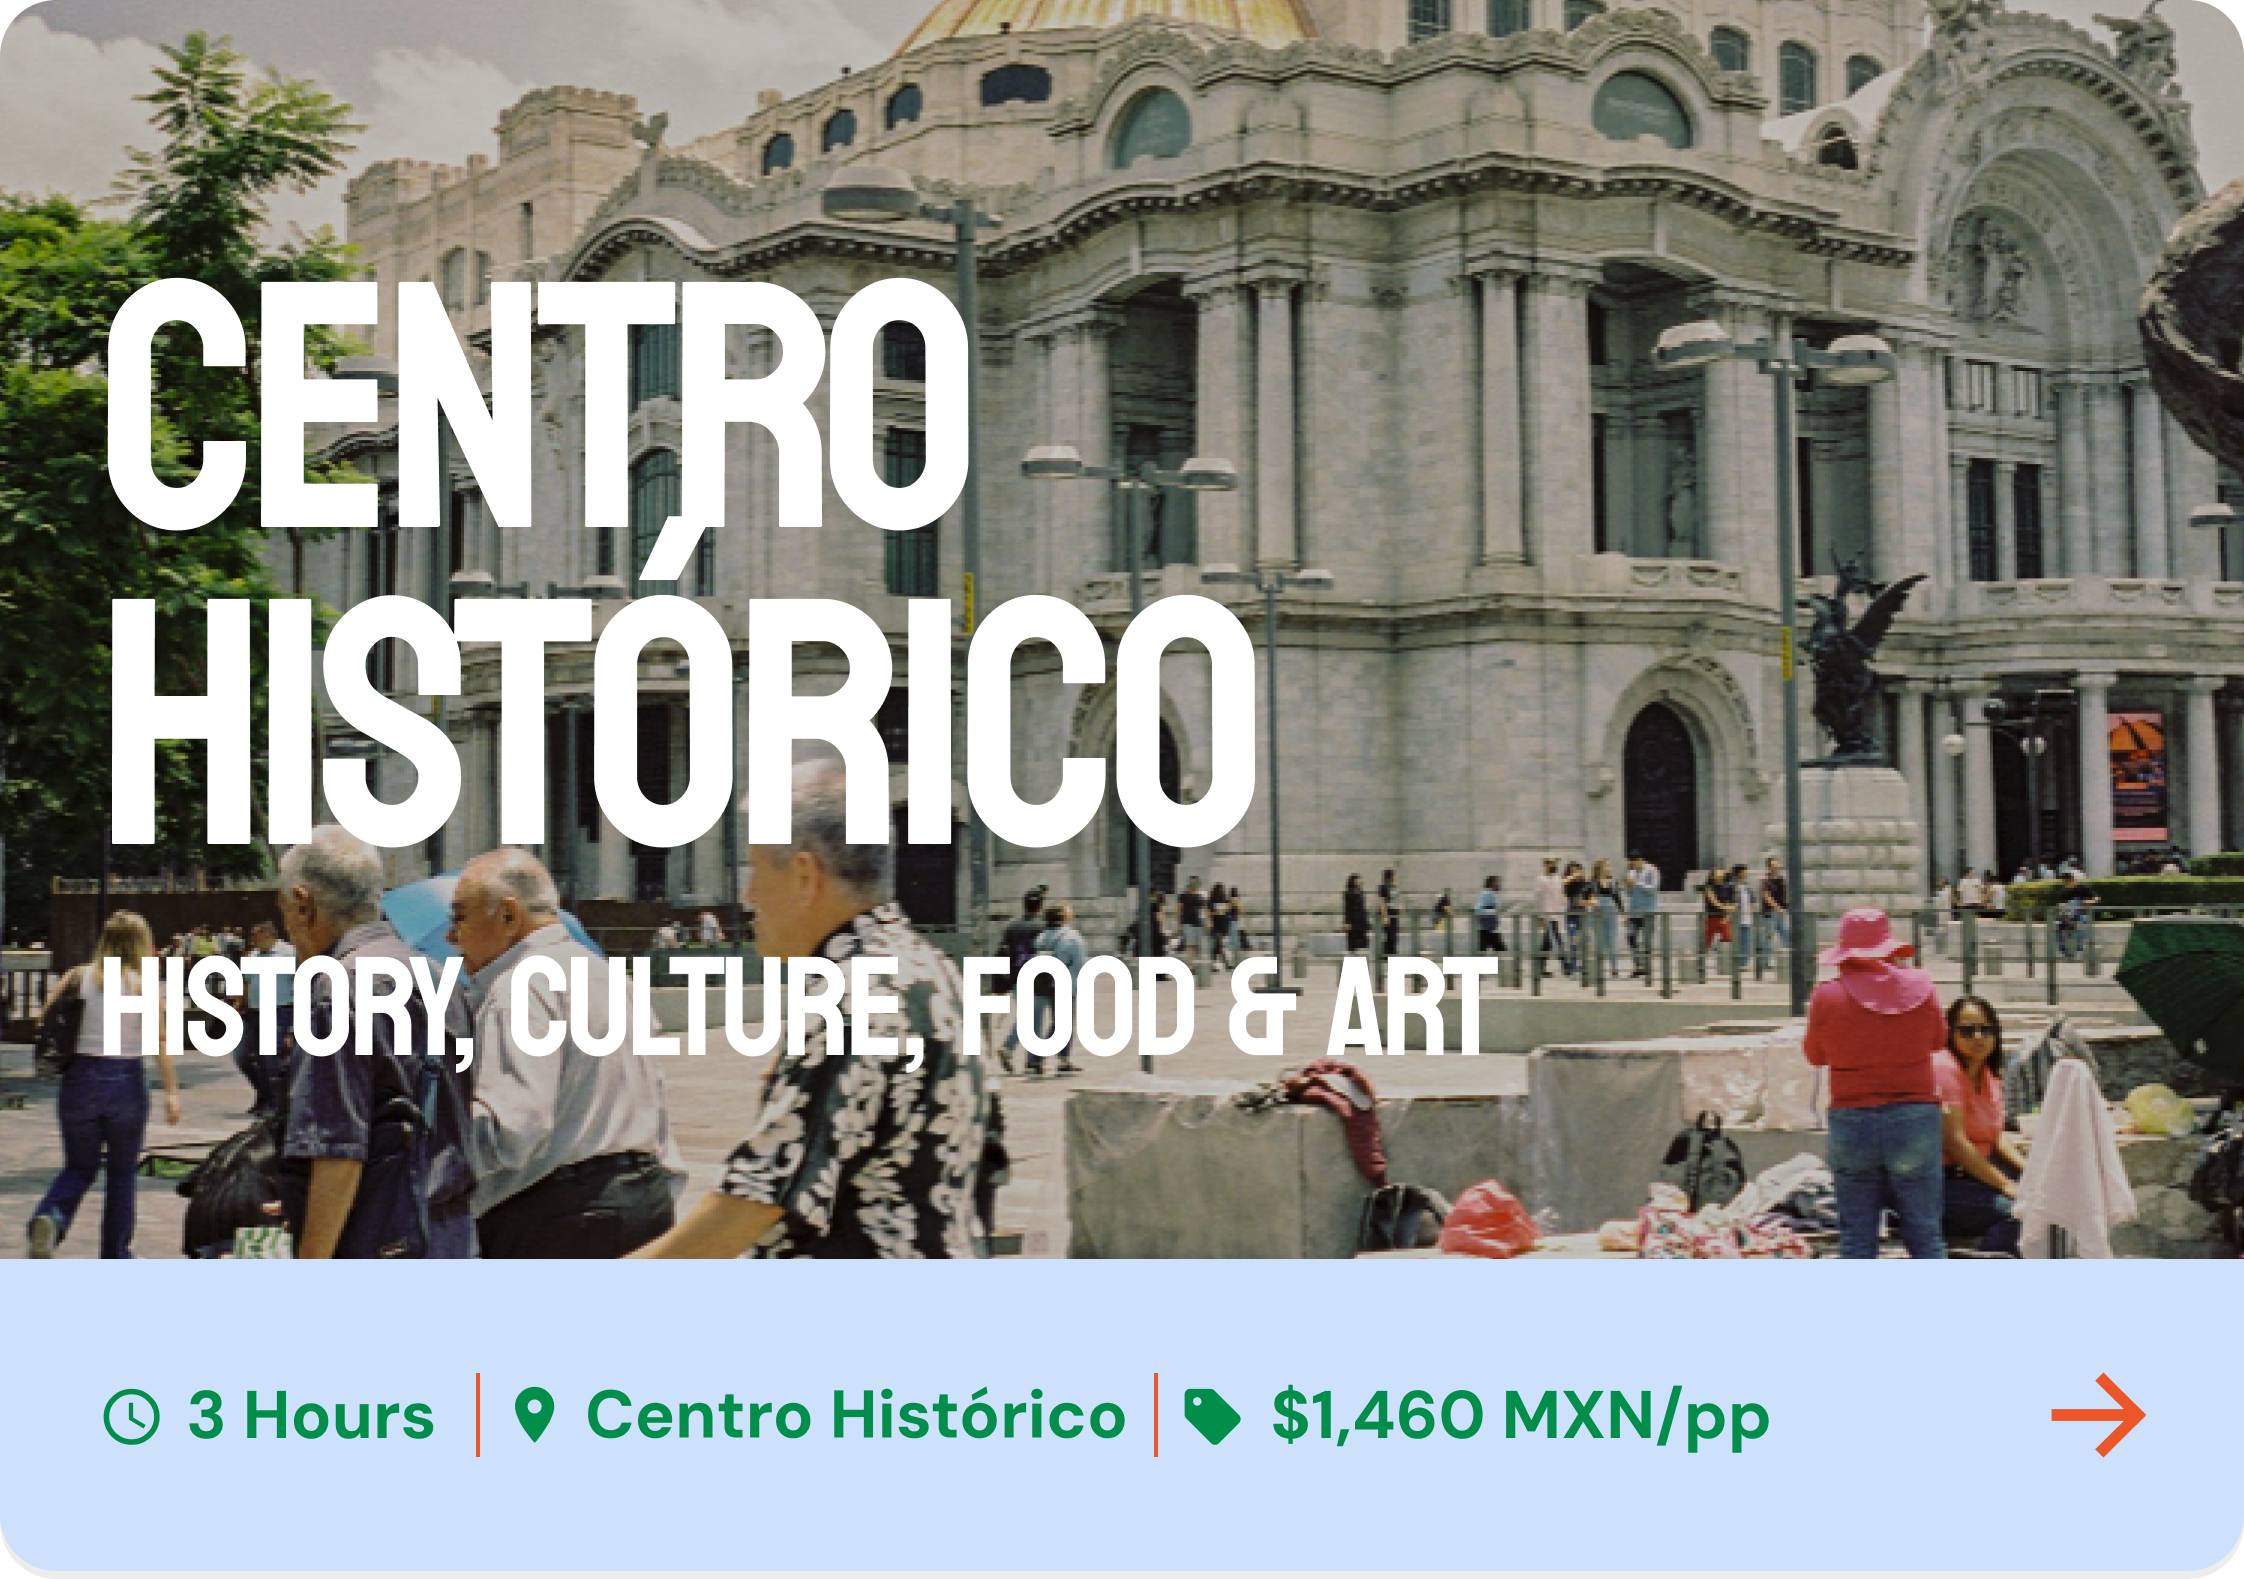
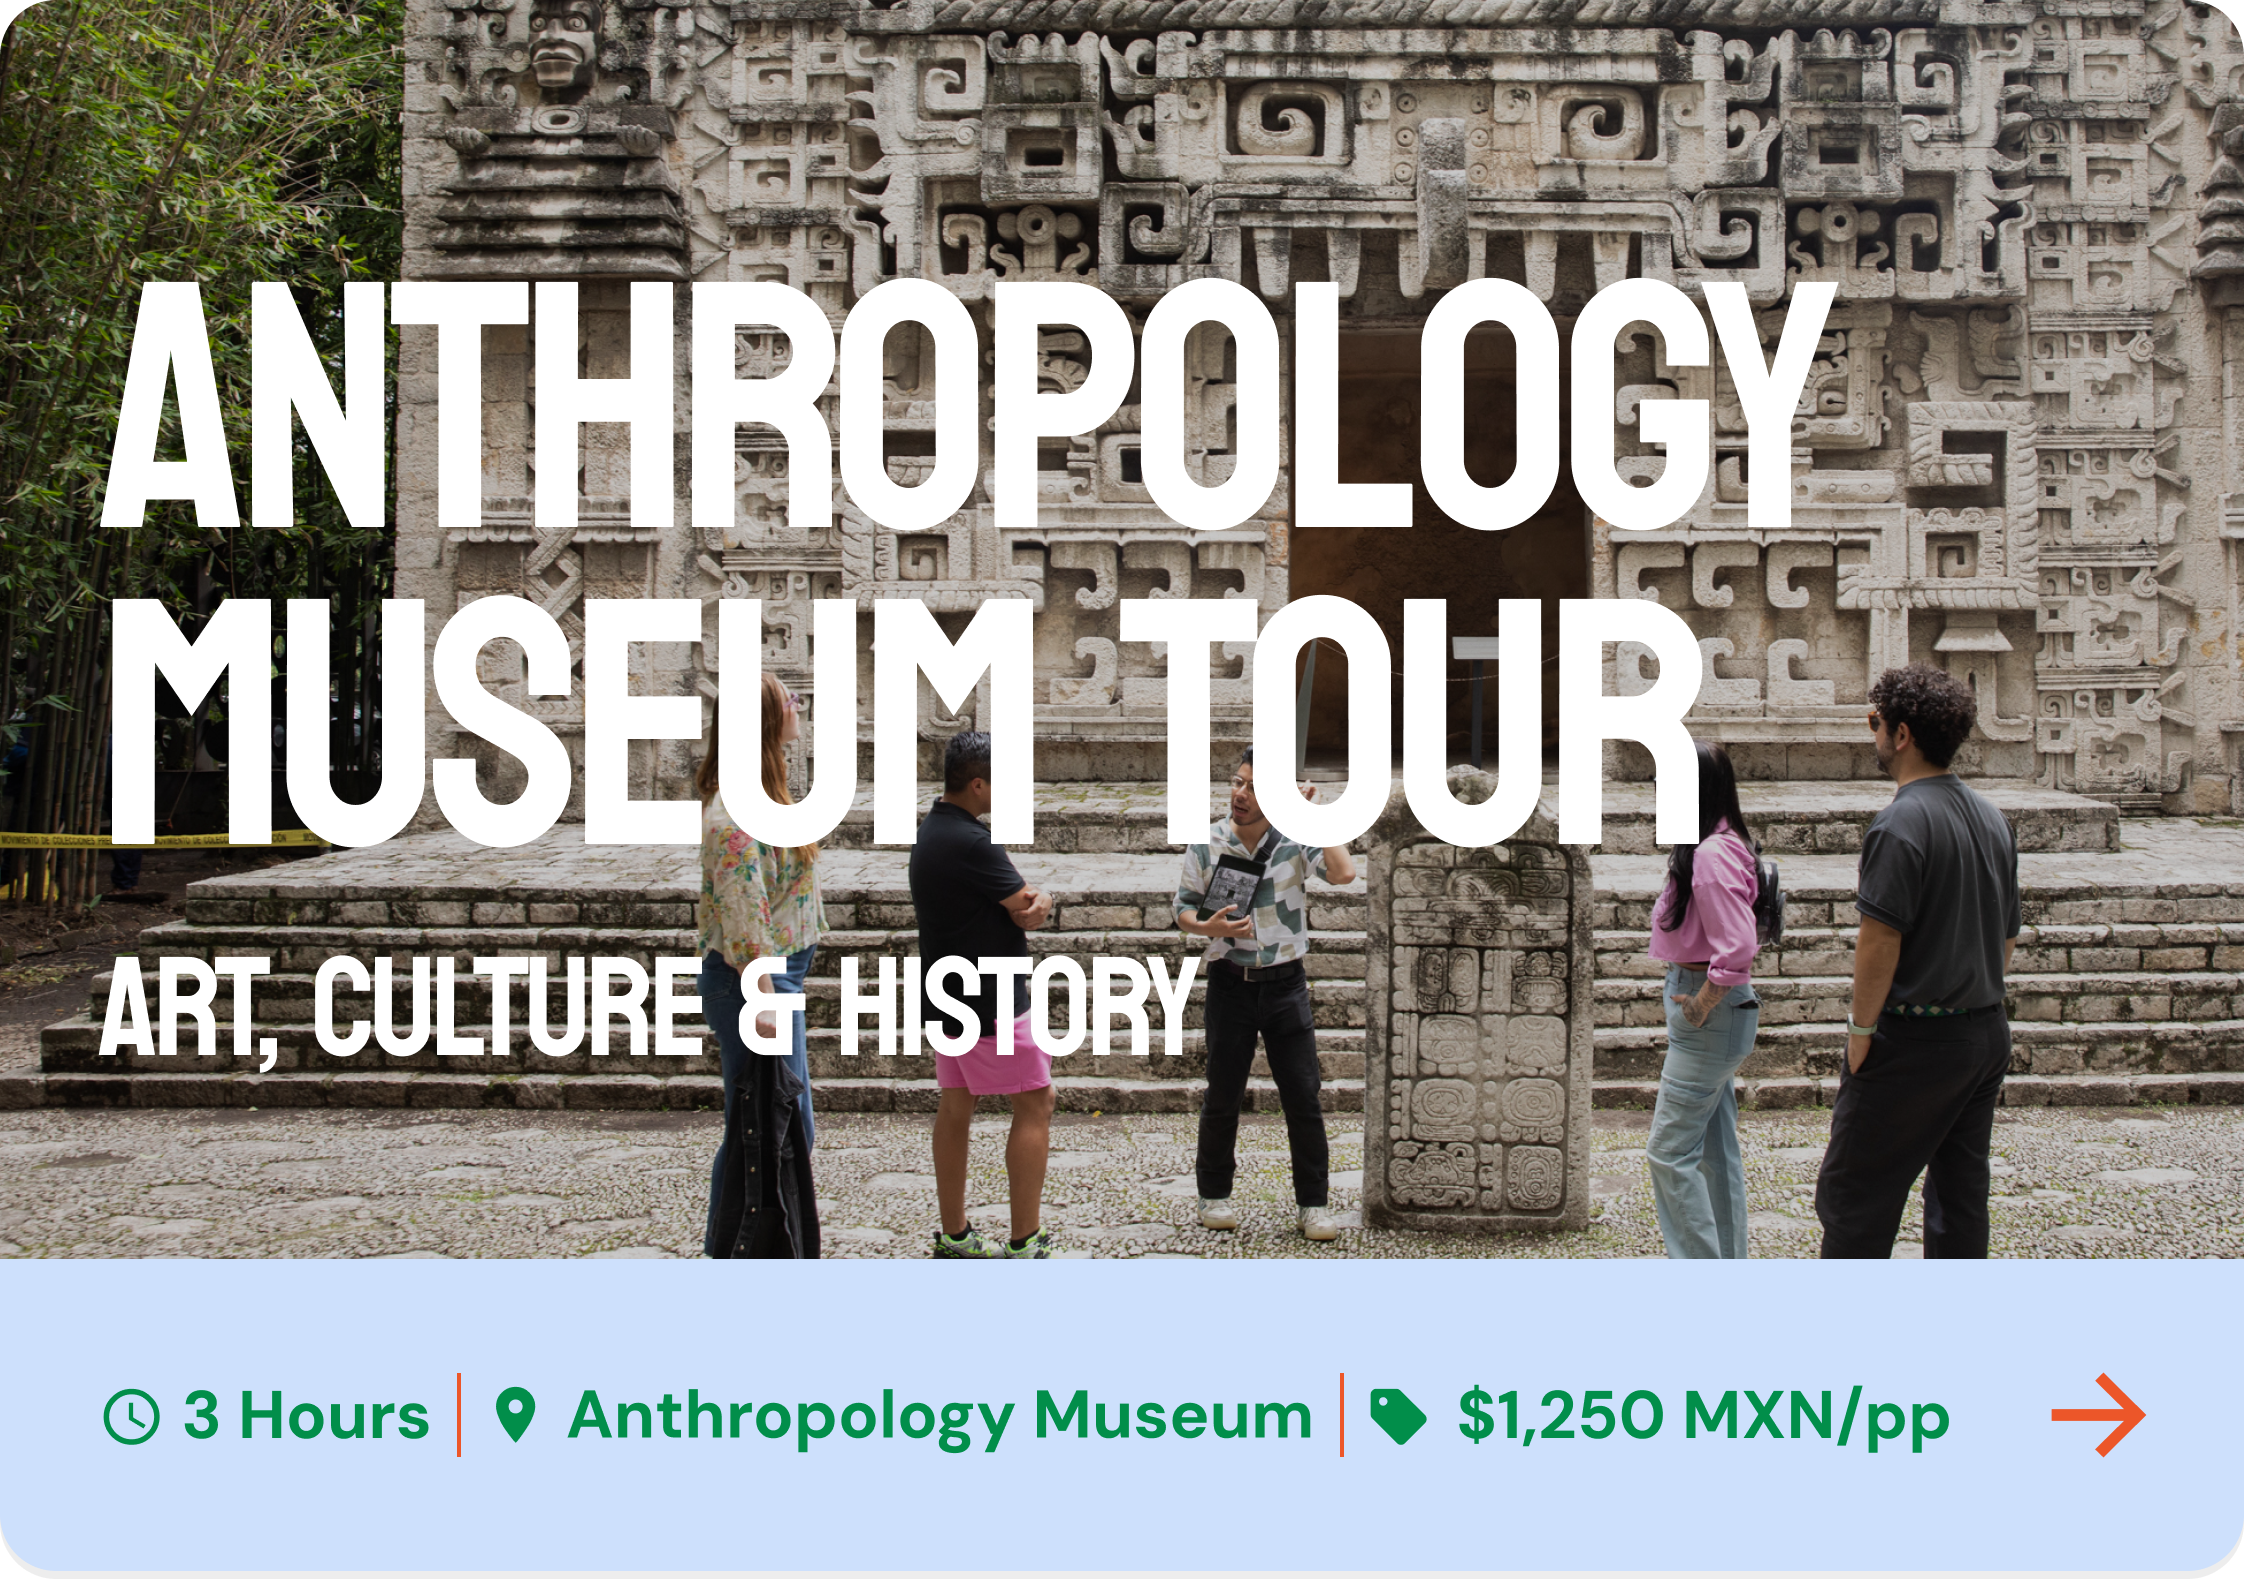
Update the image, title and details within the template and take a screen shot to upload to your new tour in the collection.
Remeber to resize your screenshot so it is under 500mb, and rename the file as the tour-name-mexico-city-guided-tours.jpg
Two — Create a new post in this collection
Duplicate one of the existing tour pages and update content.
Go to the page settings and update the Page name and URL to reflect the name of the new tour. (You will need to know the exact URL for the next step)
Three — Create a new post in this collection
Inside the Tour Tiles & links collection, go to Blog Collection, and add a new post. Select the 3 dots on the new post, and go to settings.
Upload your image from step 1 to the post thumbnail
Add the new tour page URL that you just set into Page Source URL, and turn on the “post link to page source” switch. This will mean that when your new tour item comes up in the carousel, it will link to the page you have just created (not the blog item page).
How to Manually order your posts —
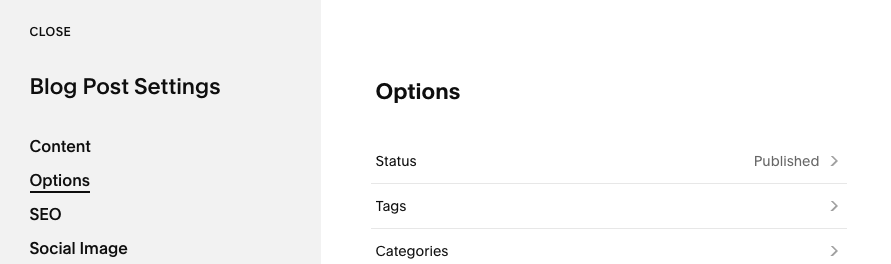
Posts show up in order of when they were published, from most recent to oldest. You can manually set the date a post was published by going to that post’s settings — options — Status
Inside status, you can choose the date the post was published. By setting the date to an older date, it will put the post in between posts with dates that are older or more recent.